As photographers, we’ve all been there – taking what we thought was the perfect shot, only to realize that it needs a little extra something to make it truly stand out. That’s where photo editing comes in. With the right tools and techniques, you can transform your photos from good to great, making them look like they were taken by a professional. In this article, we’ll take you through the step-by-step process of editing your photos to make them look their absolute best.
Step 1: Choose Your Editing Software
Before you start editing, you’ll need to choose the right software for the job. There are many options available, from Adobe Lightroom and Photoshop to Skylum Luminar and Capture One. Each has its own strengths and weaknesses, so it’s essential to experiment and find the one that works best for you.
Step 2: Import and Organize Your Photos
Once you’ve chosen your software, it’s time to import and organize your photos. This is an essential step, as it will save you time and frustration in the long run. Make sure to create folders and subfolders to categorize your photos, and use keywords and tags to make them easily searchable.
Step 3: Adjust the Exposure
The first step in editing your photos is to adjust the exposure. This will help to balance the brightness and contrast of your image, making it look more natural and visually appealing. To do this, use the exposure slider to adjust the overall brightness of the image. You can also use the contrast slider to add depth and dimension to your image.
Step 4: Adjust the White Balance
The next step is to adjust the white balance. This will help to remove any unwanted color casts and ensure that your image looks natural and accurate. To do this, use the white balance tool to select a neutral area of the image and adjust the settings accordingly.
Step 5: Crop and Straighten
Cropping and straightening your image is an essential step in the editing process. This will help to remove any distractions and ensure that your subject is centered and level. Use the crop tool to trim the edges of the image, and the straighten tool to adjust the horizon line.
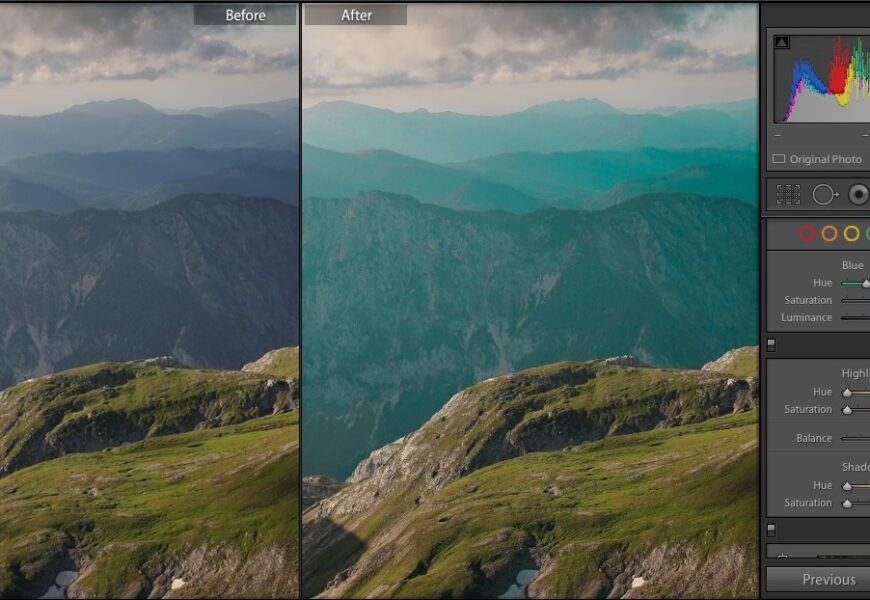
Step 6: Adjust the Contrast and Saturation
Adjusting the contrast and saturation of your image is crucial in making it look visually appealing. The contrast slider will help to add depth and dimension to your image, while the saturation slider will help to enhance the colors. Use these sliders to create a balanced and natural-looking image.
Step 7: Add a Vignette
A vignette is a subtle effect that adds depth and dimension to your image. It works by darkening the edges of the image, creating a sense of depth and dimension. To add a vignette, use the vignette tool and adjust the settings accordingly.
Step 8: Add a Filter
Filters are a great way to add a unique touch to your image. They can help to enhance the colors, add texture, and create a sense of atmosphere. There are many different types of filters available, from black and white to sepia and more. Experiment with different filters to find the one that works best for your image.
Step 9: Save and Export
The final step is to save and export your edited image. Make sure to save it in a format that is compatible with your desired output, such as JPEG or TIFF. You can also export it in different sizes and resolutions to suit your needs.
Conclusion
Editing your photos is an essential step in the photography process. By following these steps, you can transform your images from good to great, making them look like they were taken by a professional. Remember to choose the right software, import and organize your photos, adjust the exposure and white balance, crop and straighten, adjust the contrast and saturation, add a vignette and filter, and finally save and export your edited image. With practice and patience, you’ll be editing like a pro in no time.