As photographers, we’ve all been there – standing in a dimly lit room, struggling to capture the perfect shot. The camera’s autofocus is having a hard time locking onto the subject, and the image is plagued by noise and grain. But fear not, dear photographers! With the right techniques and a few simple adjustments, you can master the art of low-light photography and capture stunning, sharp images even in the most challenging environments.
Understanding the Challenges of Low-Light Photography
Before we dive into the tips and tricks, it’s essential to understand the challenges of low-light photography. When the light is scarce, the camera’s sensor has to work harder to capture the image. This can lead to:
- Noise and Grain: As the camera amplifies the light, it can introduce noise and grain into the image, making it look fuzzy and unsharp.
- Autofocus Issues: The camera’s autofocus system can struggle to lock onto the subject, resulting in blurry images or missed focus.
- Slow Shutter Speeds: To compensate for the lack of light, the camera may require slower shutter speeds, increasing the risk of camera shake and blur.
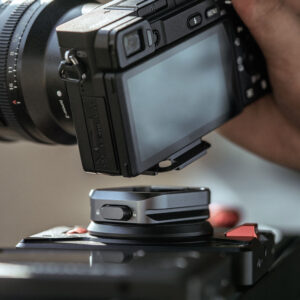
Pre-Shoot Preparation
Before heading out to capture those low-light shots, make sure you’re prepared:
- Choose the Right Camera Settings: Set your camera to Manual mode (M) to have control over aperture, shutter speed, and ISO.
- Use a Fast Lens: A lens with a wide aperture (like f/1.4 or f/2.8) will allow more light to enter the camera, reducing the need for slower shutter speeds.
- Bring a Tripod: A tripod will help stabilize the camera, reducing camera shake and blur.
- Use a Remote Shutter Release or Timer: This will help minimize camera shake and ensure a sharp image.
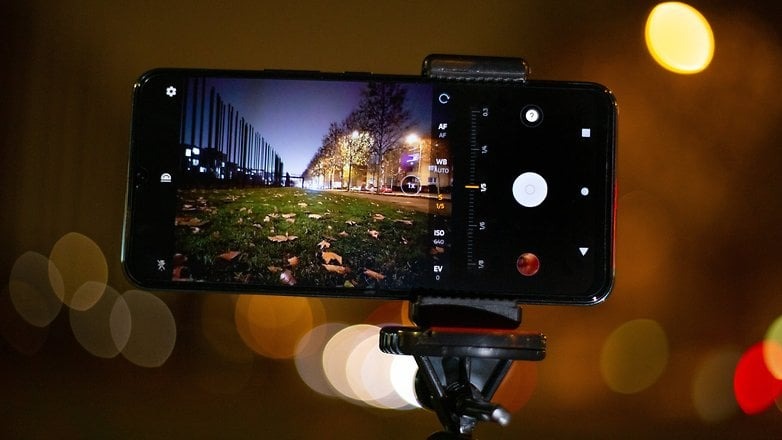
In-Camera Settings for Low-Light Photography
Adjusting your camera settings can make a significant difference in capturing sharp images in low light:
- ISO: Keep the ISO as low as possible (preferably 100 or 200) to minimize noise and grain.
- Aperture: Use a wide aperture (like f/1.4 or f/2.8) to allow more light into the camera.
- Shutter Speed: Use the slowest shutter speed possible without introducing blur or camera shake.
- White Balance: Adjust the white balance to match the lighting conditions (e.g., tungsten, fluorescent, or daylight).
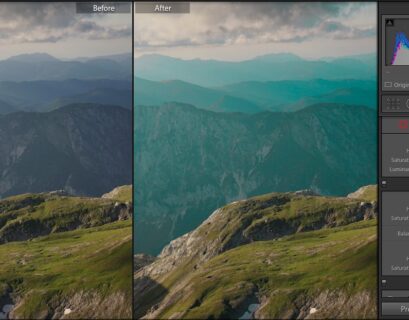
Post-Shoot Processing
After capturing your low-light images, follow these post-processing tips to enhance the sharpness and clarity:
- Noise Reduction: Use noise reduction software or plugins to minimize noise and grain.
- Sharpening: Apply subtle sharpening techniques to enhance the image’s clarity and definition.
- Local Adjustments: Use local adjustments (e.g., exposure, contrast, and color balance) to fine-tune the image’s tone and color.
Additional Tips and Tricks
- Use a Flash: If possible, use a flash to add a burst of light to the scene, helping to illuminate the subject.
- Bracket Your Shots: Take multiple shots at different exposures and merge them later using HDR software to create a single, balanced image.
- Pay Attention to Composition: Focus on the subject’s composition, using leading lines, framing, and other techniques to create visually appealing images.
Conclusion
Capturing sharp photos in low-light environments requires patience, practice, and a solid understanding of camera settings and post-processing techniques. By following these tips and tricks, you’ll be well on your way to mastering the art of low-light photography and capturing stunning, sharp images even in the most challenging environments.