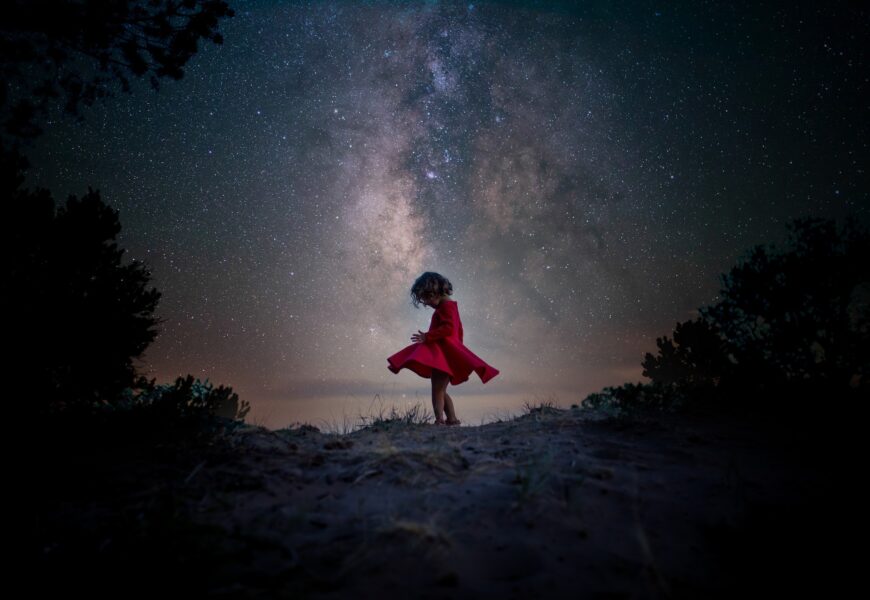
As photographers, we’re often drawn to the beauty of the night sky, with its twinkling stars, glowing planets, and ethereal landscapes. Capturing the beauty of the night sky can be a challenging but rewarding experience, requiring patience, practice, and a few key tips to get it right. In this article, we’ll explore the essential techniques and strategies for capturing the celestial wonders of the night sky in your outdoor photography.
Tip 1: Plan Ahead
Before you head out to capture the night sky, plan your shoot carefully. Check the weather forecast to ensure clear skies, and research the best times for stargazing in your area. The new moon phase is ideal for minimal moonlight interference, and the best viewing times are usually around midnight to 3 am when the sky is typically at its darkest.
Tip 2: Choose the Right Equipment
For night sky photography, you’ll need a camera with manual controls, a tripod, and a wide-angle lens (between 10-24mm) to capture the vastness of the sky. A full-frame camera is ideal, but a crop sensor camera will also work. A remote shutter release or camera timer will help minimize camera shake and noise.
Tip 3: Shoot in Manual Mode
Shooting in manual mode allows you to control the exposure, aperture, and ISO to achieve the best results. Start with a low ISO (100-400) to minimize noise and a wide aperture (f/2.8 or wider) to let in as much light as possible. Adjust the shutter speed to around 20-30 seconds to capture the stars without overexposing the sky.
Tip 4: Use a Tripod and Remote Shutter Release
A sturdy tripod is essential for keeping your camera stable and minimizing camera shake. Use a remote shutter release or camera timer to avoid camera movement and noise. This will help you capture sharp images and avoid camera shake.
Tip 5: Focus on the Infrared
To capture the stars, focus on the infrared range (around 20-30 seconds) to freeze the stars. You can also use the live view mode to focus on a bright star or a distant light source and then switch to manual focus.
Tip 6: Bracket Your Shots
Bracketing your shots will help you capture a range of exposures to merge later using HDR software. This technique allows you to capture the full dynamic range of the night sky, from the bright stars to the dark shadows.
Tip 7: Shoot in RAW
Shooting in RAW format gives you more flexibility when editing your images. RAW files contain more data than JPEGs, allowing you to make adjustments to exposure, contrast, and color balance without degrading the image.
Tip 8: Edit Your Images
Post-processing is crucial for enhancing the beauty of the night sky. Adjust the exposure, contrast, and color balance to bring out the stars and the landscape. Use noise reduction software to minimize digital noise and enhance the overall image quality.
Tip 9: Shoot in Series
Capture multiple shots of the same scene to create a series of images that can be merged later using panorama software. This technique allows you to capture the vastness of the night sky and create a stunning panoramic image.
Tip 10: Practice and Patience
Capturing the beauty of the night sky requires patience and practice. Be prepared to spend several hours waiting for the perfect shot, and don’t be discouraged by cloudy skies or equipment malfunctions. With time and practice, you’ll develop the skills and techniques necessary to capture the celestial wonders of the night sky.
In conclusion, capturing the beauty of the night sky requires a combination of planning, equipment, and technique. By following these tips, you’ll be well on your way to capturing stunning images of the celestial wonders that surround us. Remember to plan ahead, choose the right equipment, shoot in manual mode, and practice patience and persistence. With time and practice, you’ll be able to capture the breathtaking beauty of the night sky.


